Thoughtfully Crafting a Blended Course (Card Activity)
 An ongoing challenge for the ETO is how to effectively and efficiently support instructors (and teaching teams) as they implement modality changes (using technology) in their courses.
If you are an instructor interested in blended learning but are pressed for time and maybe aren’t sure where to start, this activity is for you! Did I mention there are cat emojis involved?
Before you begin
Through this activity, you'll consider the differences between onsite, blended, and online learning, visualize your course’s existing modalities, explore what modalities are – and aren’t – working, and experiment with different modalities to see what makes sense for your specific teaching context. This can feel overwhelming; re-design is a time and energy consuming prospect. We all know how many tools there are out there and no one has idle minutes. We got to thinking - what if there was a way that we could help instructors narrow their focus to changes that would have the most impact, yes, but also would help identify what to change first? And that is how the ETO’s new Blended Learning Card Deck Activity was conceptualized (and then manifested by Inga).
- How to get the most out of this activity
-
This is a broad activity that could be used to achieve many different design goals. If it's your first time participating, we suggest focusing on sequencing (what combination best addresses the course learning outcomes) and modalities (what activities/assessments/content best lend themselves to online or onsite).
Before beginning this activity, we recommend that:
- You have completed your course's Instructional design. When deciding modalities, you'll need defined outcomes (what students will learn) in order to determine what assessments and activities work for your course.
- You are interested in designing a blended course. The goal is to include physical and digital learning spaces are part of the learning experience.
- You're keeping in mind your situational factors. The mode selected is likely to be influenced by departmental needs, CEAB accreditation, course type (e.g., first-year vs. capstone), teaching strategies, and/or class size.
- How we define terms (for this activity)
-
Course delivery modes can be defined on a continuum by the integration of technology and the amount of synchronous (real-time) interaction between the instructor and students. Traditional, face-to-face (in-person) courses represent one end of the continuum and entirely online, asynchronous courses represent the other end.
For this activity, to represent the spectrum of fully in person to fully online we are using the following terms:
- Onsite Learning (learning that happens in shared physical space; technology often plays a supplemental support role in the course)
- Blended Learning (learning that happens through an intentional mix of online/onsite activities)
- Online Learning (learning that happens through technology; can be synchronous (at the same time) or asynchronous (on your own time))
NOTE: You might be familiar with other terms for each of the above and we encourage you to define the terms for yourself. Another layer is how the course modalities are defined in ROSI (see slide 13); you might find that your working definition is different than how the course is defined institutionally. We recommend that you confirm with your home department before embarking on any major course re-design.
- What you will need to complete this activity
-
To complete this activity, you'll need:
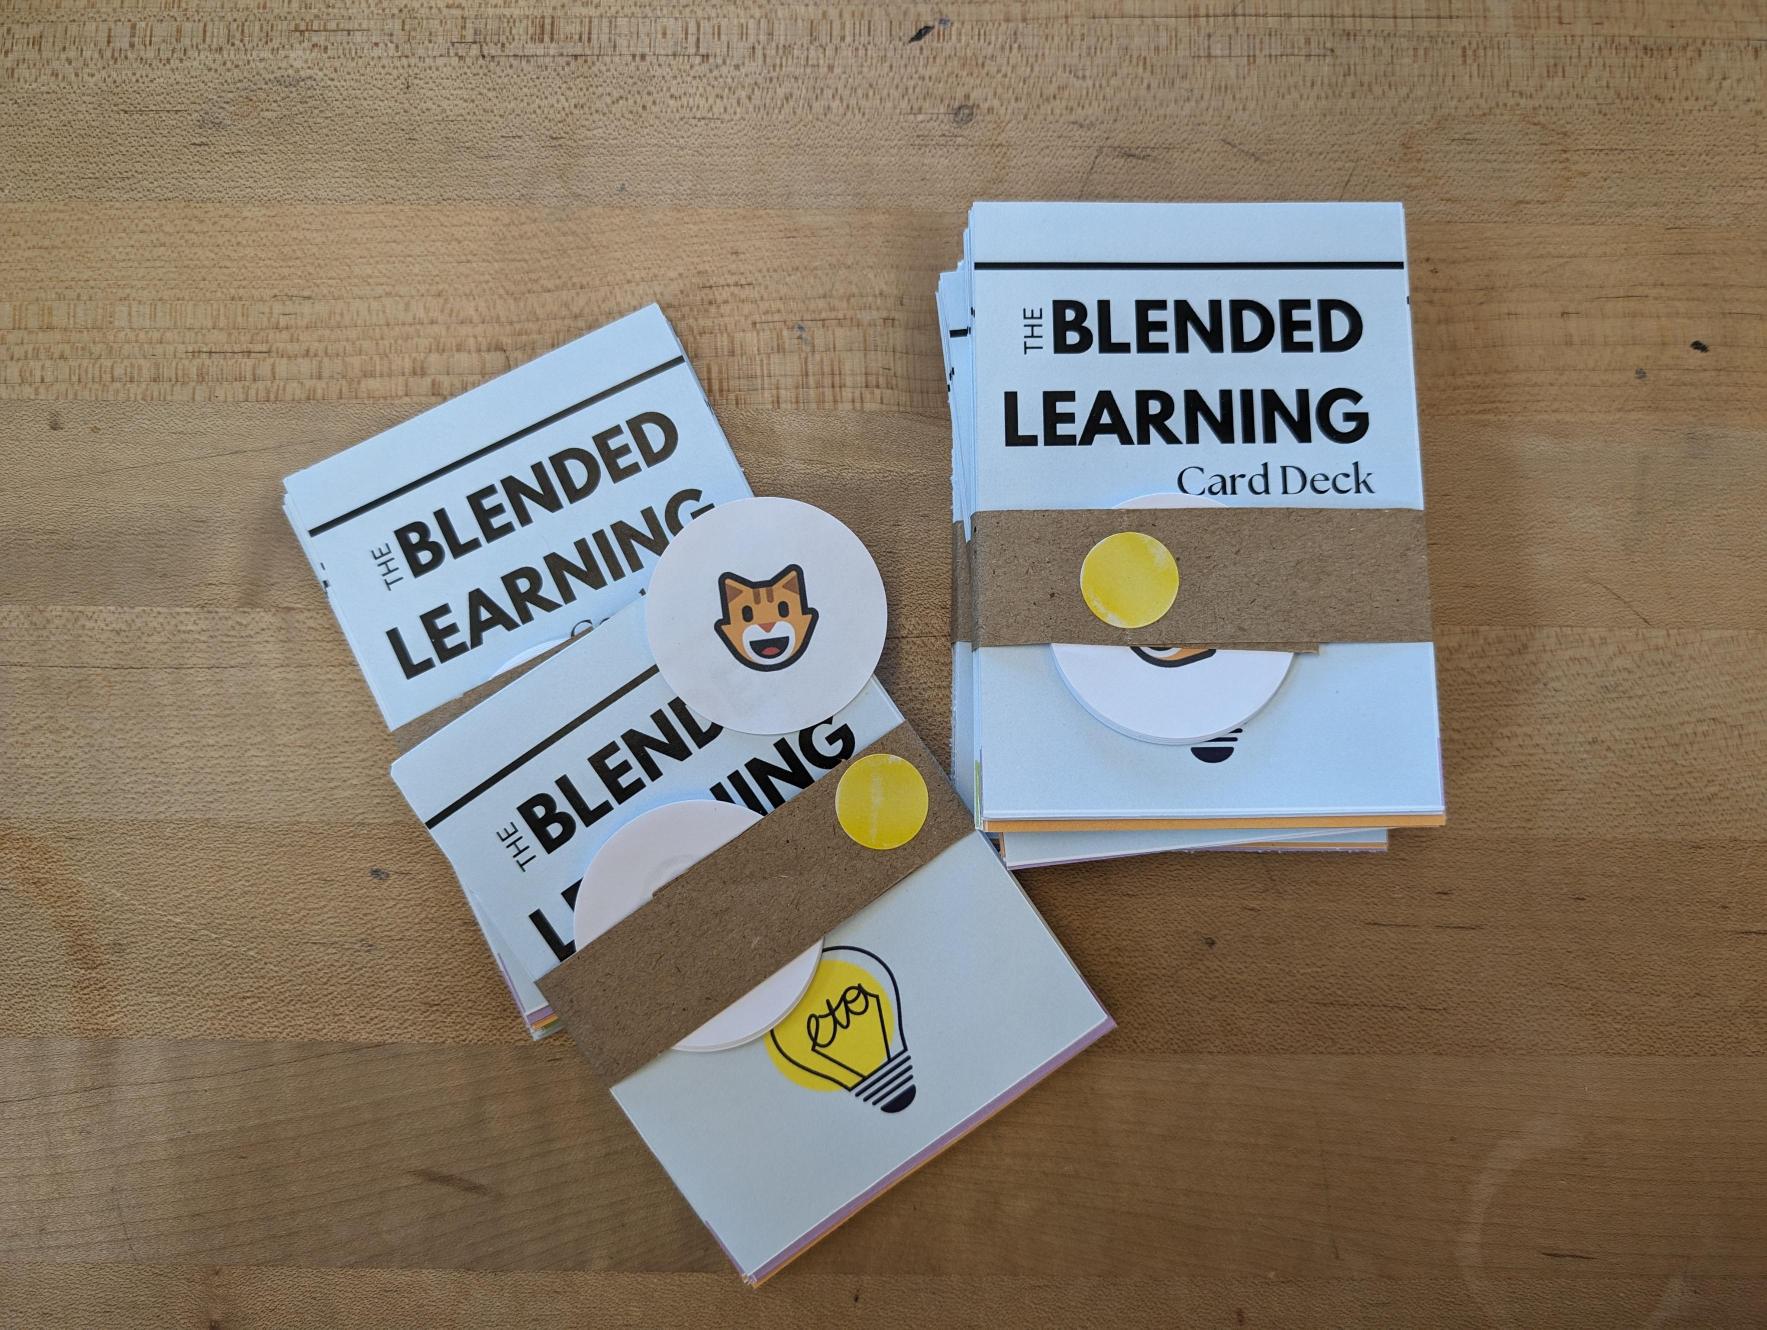
- the ETO's Blended Learning Card Deck. You can print your own or borrow a copy of the ETO's Blended Learning Card Deck.
- a set of rating "buttons." You can print your own or borrow some from the ETO.
Activity Instructions
- 1) Map out your course activities
-
With a specific course in mind, map our your existing course activities using the card deck:
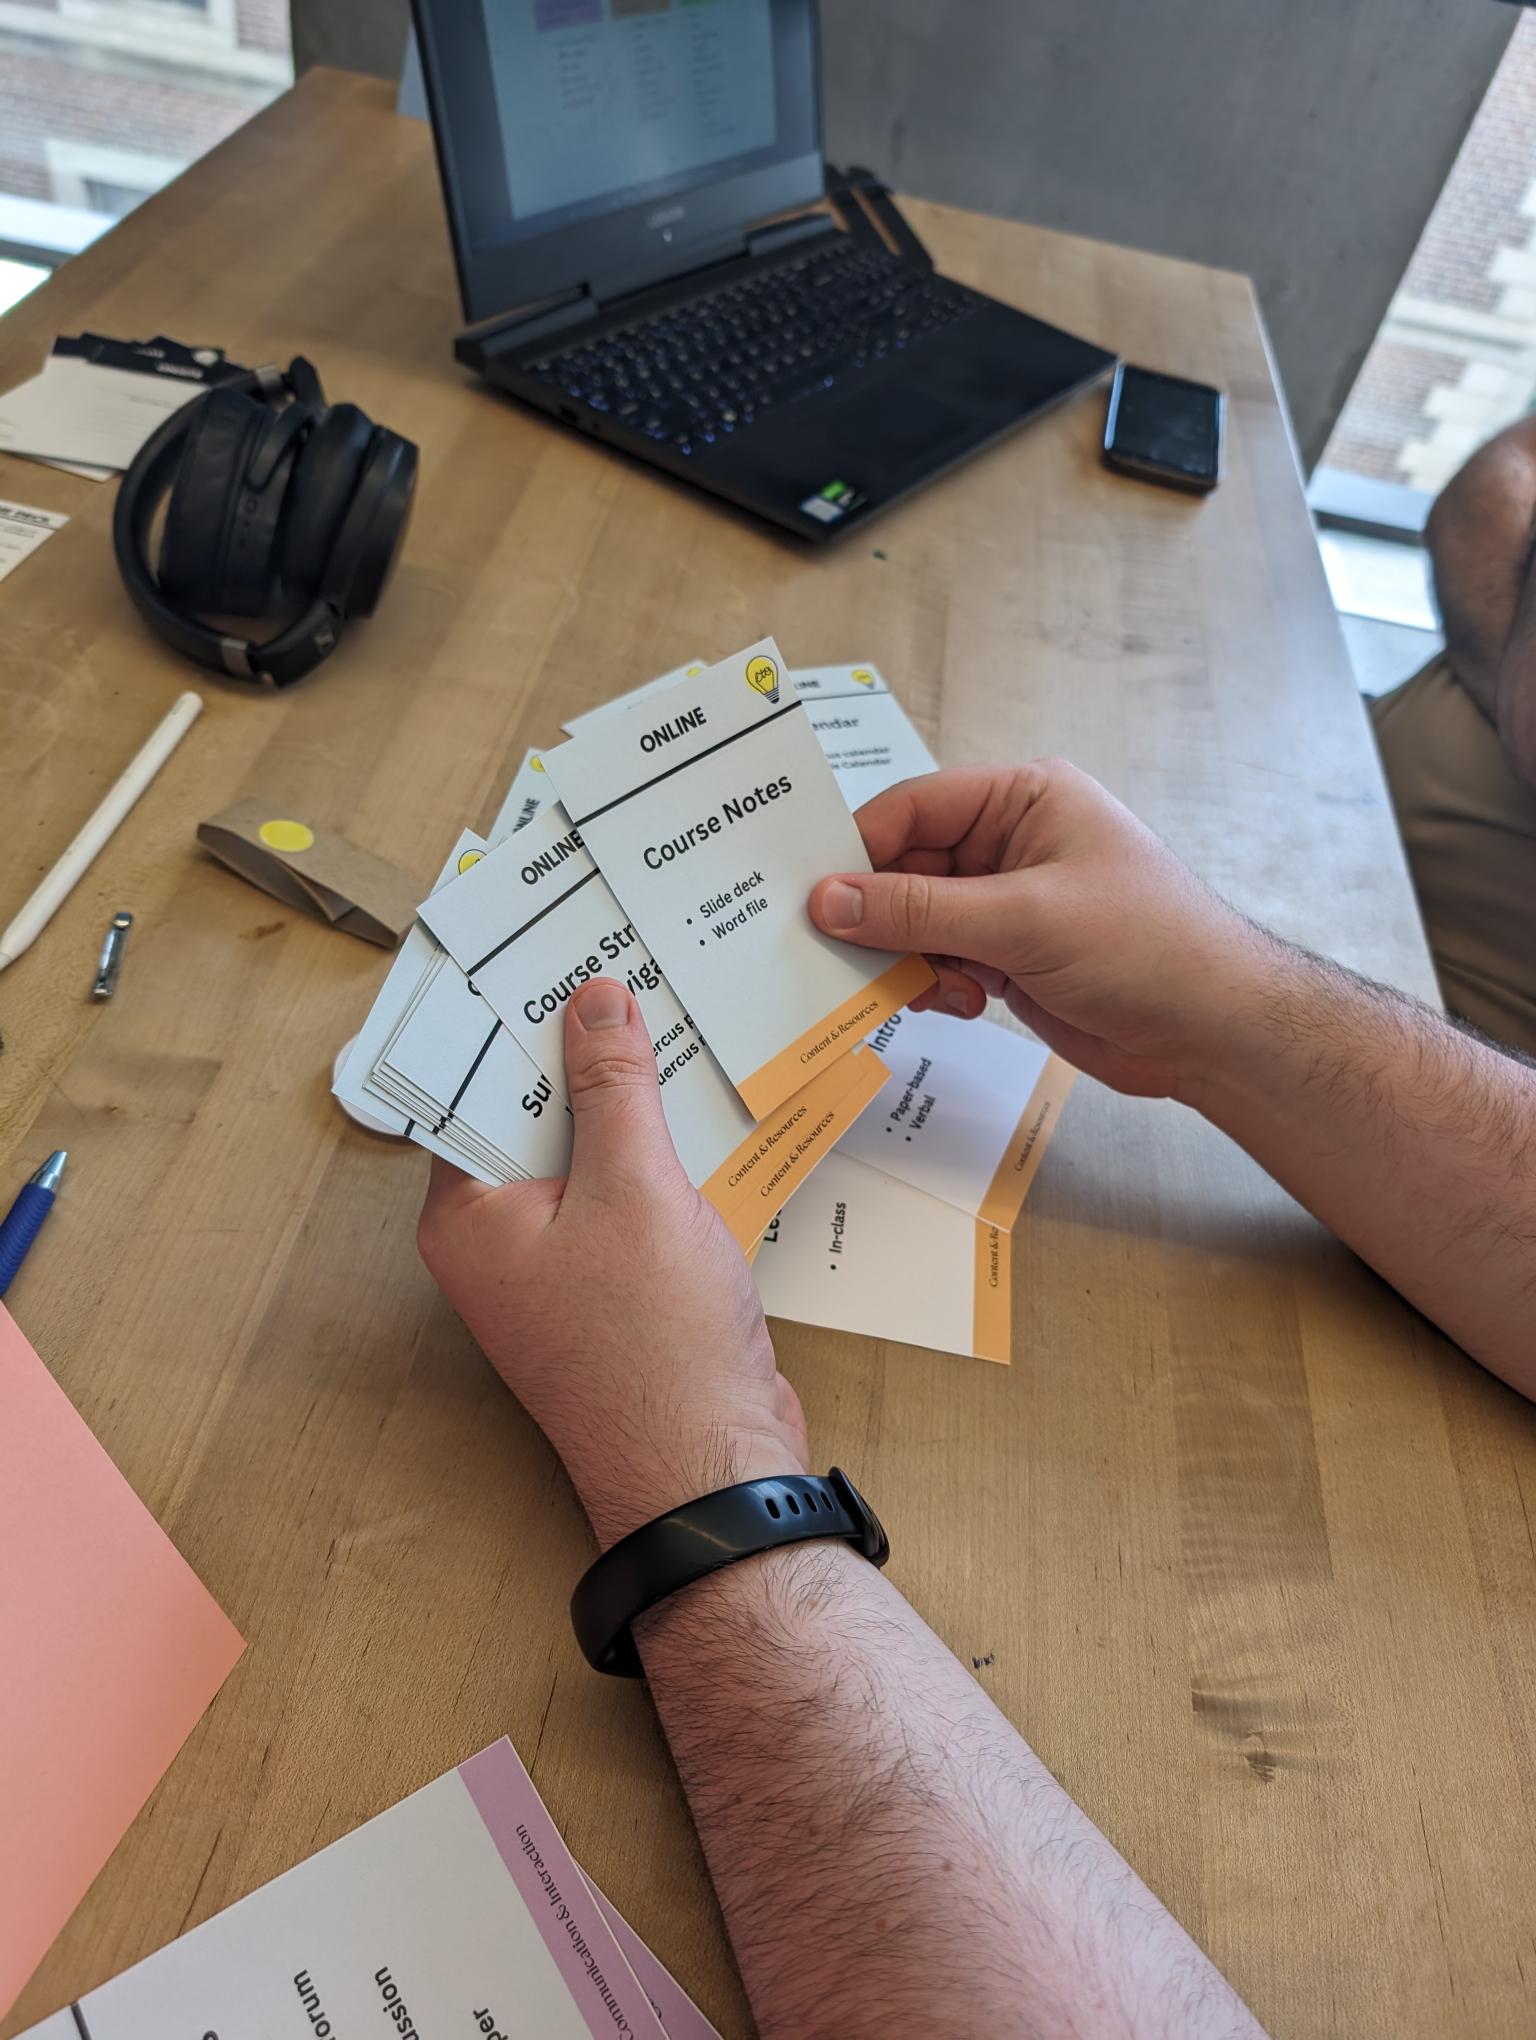
- Review the card deck
- Focus on major course components; you can add activities from the deck as the activity proceeds.
- You can also consult the Blended Learning Card Deck Cheat Sheet table below (this lists all the activities currently included in the deck)
-
-
- Select the activities that currently exist in your course
- If you have an activity that isn’t captured on a printed card, make your own (using a blank card)
- Set aside any cards that remain.
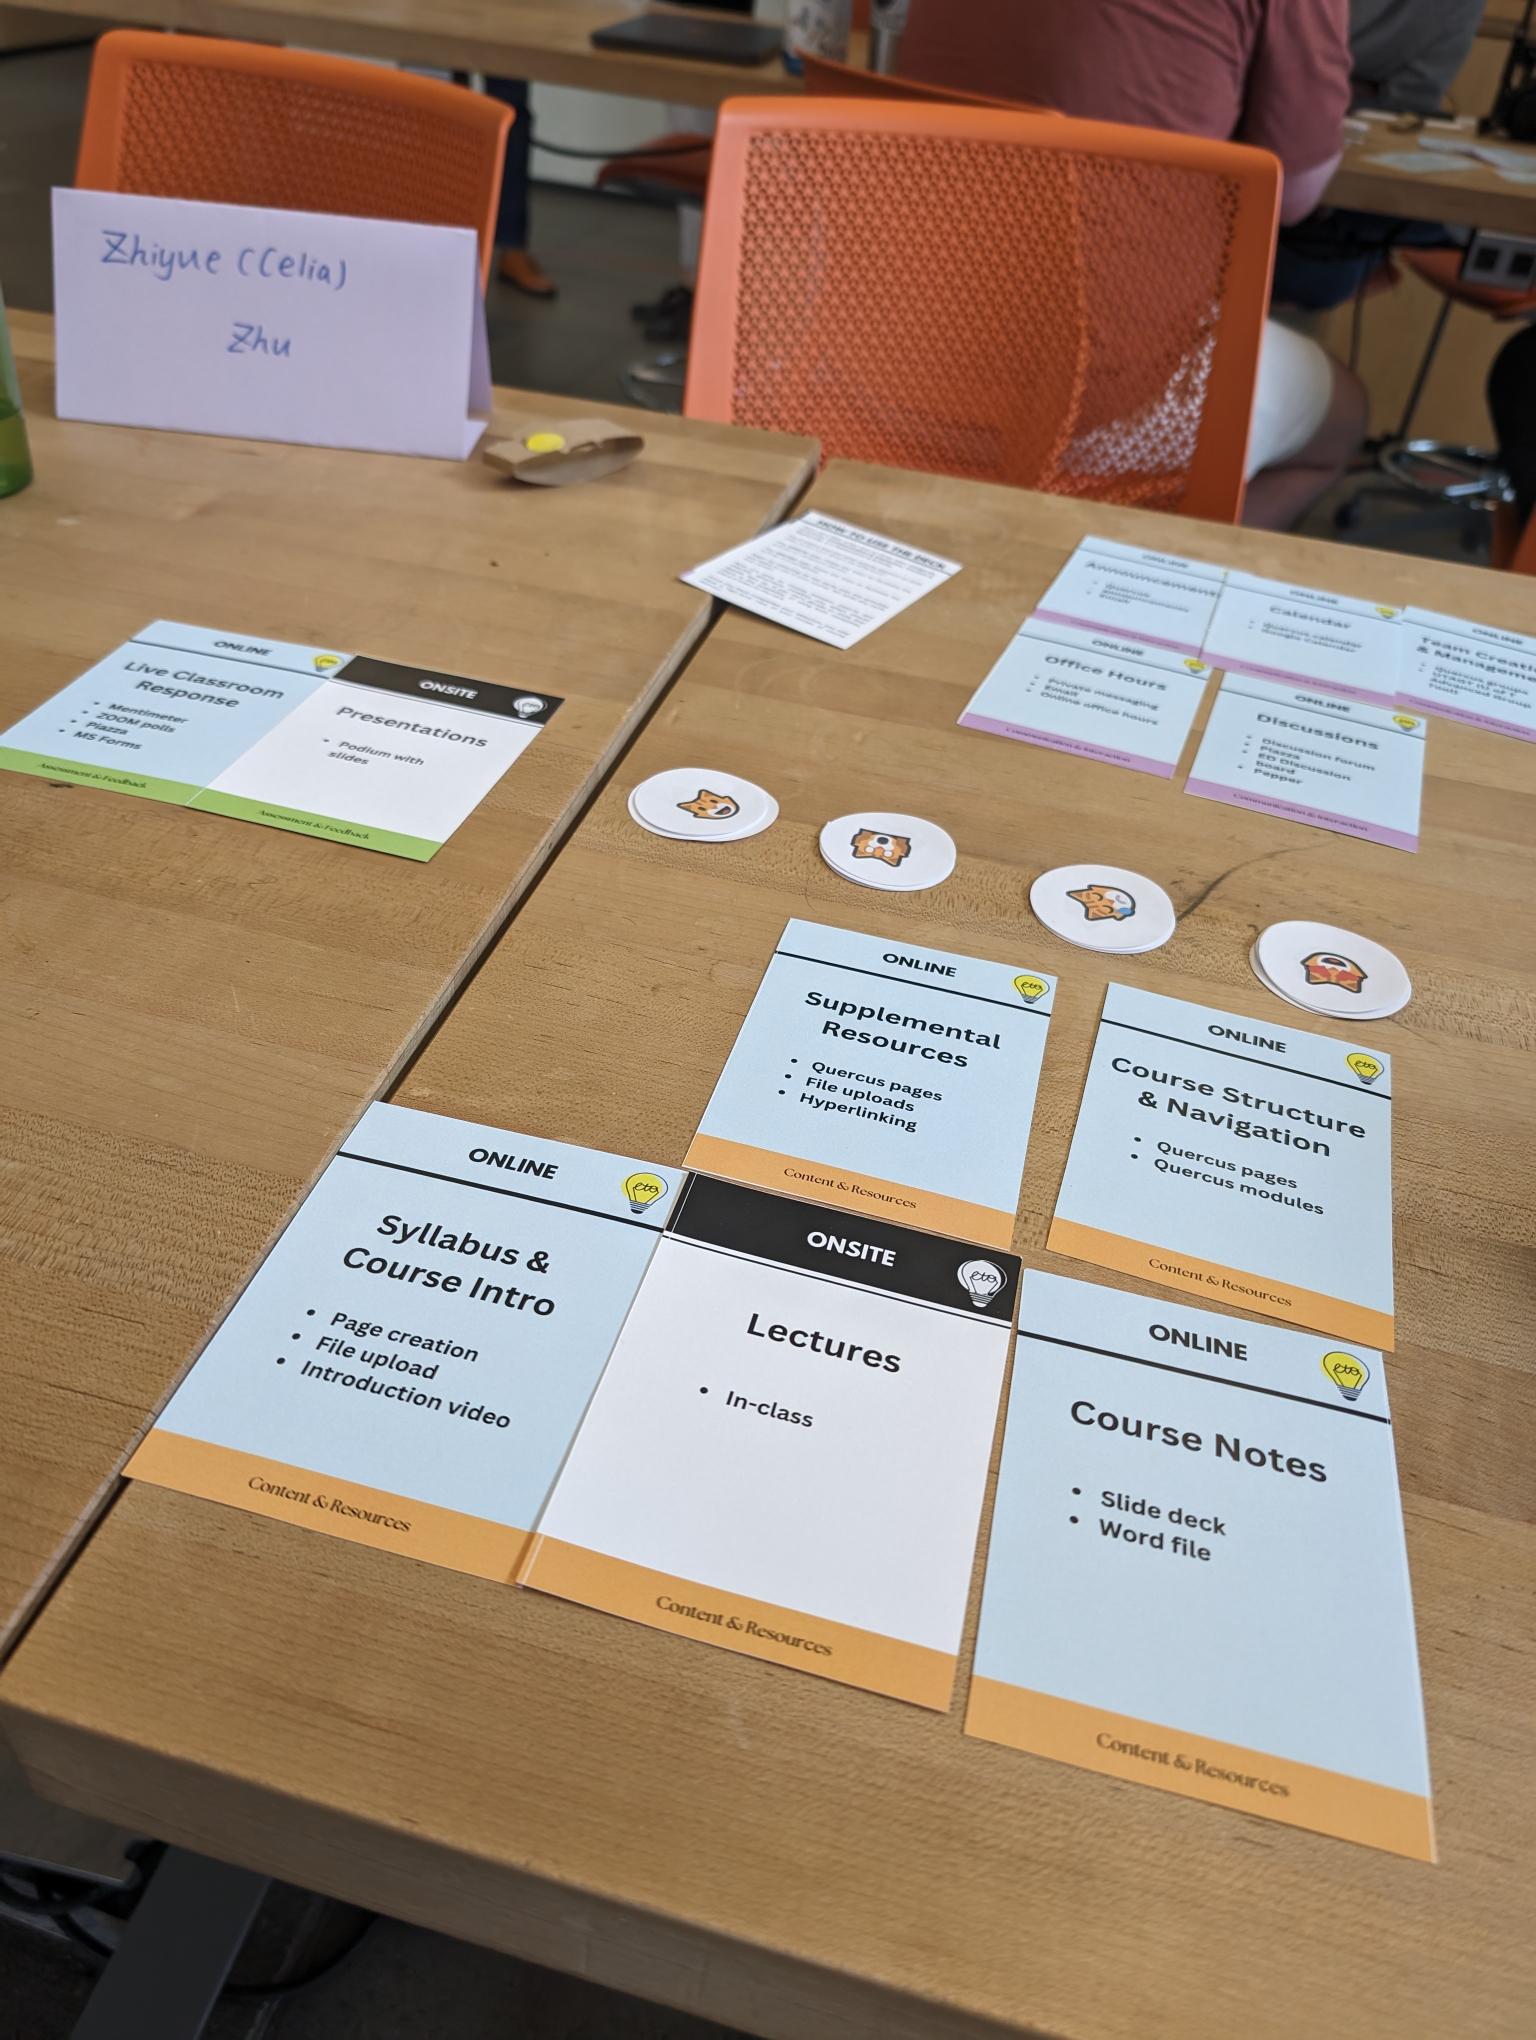
- Place the cards on table/desk
- You can lay these out however makes sense to you. Some use a linear structure, others group by type of activity.
- You’ll notice that the same activity appears on both sides of the card. What’s the difference?
- The ONSITE side: These are ways to facilitate the activity on campus/in-person.
- The ONLINE side: These are ways to facilitate the activity online/digitally.
-
- Take a picture of your card layout
- Use this as a reference point to refer back to
At the end of this step, you should have a lay out of all your major course activities by modality.
The Blended Learning Card Deck Cheat Sheet
The activities listed in the table below are included in the card deck. If you have an activity that is not included, you can use a blank card to add new activities.
Communication & InteractionContent & Resources Assessment & Feedback
- Announcements
- Office Hours
- Calendar
- Discussions
- Team Creation & Management
- Syllabus / Course Intro
- Lectures
- Tutorials
- Supplemental Resources
- Course Notes
- Course Structure & Navigation
- Quiz
- Exams
- Live classroom response
- Presentations
- Demonstrations
- Papers
- Group Projects
- Peer Review
- Grades
- Case Study
- Prototypes/ Designs
- Labs
- Review the card deck
- 2) Rate your activities
-
Look at your course card lay out and reflect on how well these activities are working for you. Then:
- Grab some emoji buttons. You'll need a few of each type of rating:
-
- Place the appropriate button on each card
- When placing your rating buttons, we’d like you to consider the ratings as described in the matrix below. Note that key metrics here are whether you enjoy/see the value in the activity and how much time it takes you.
At the end of this step:
- Each of your activities should have a rating indicator on it. See below for an example (photo taken while activity was in progress).
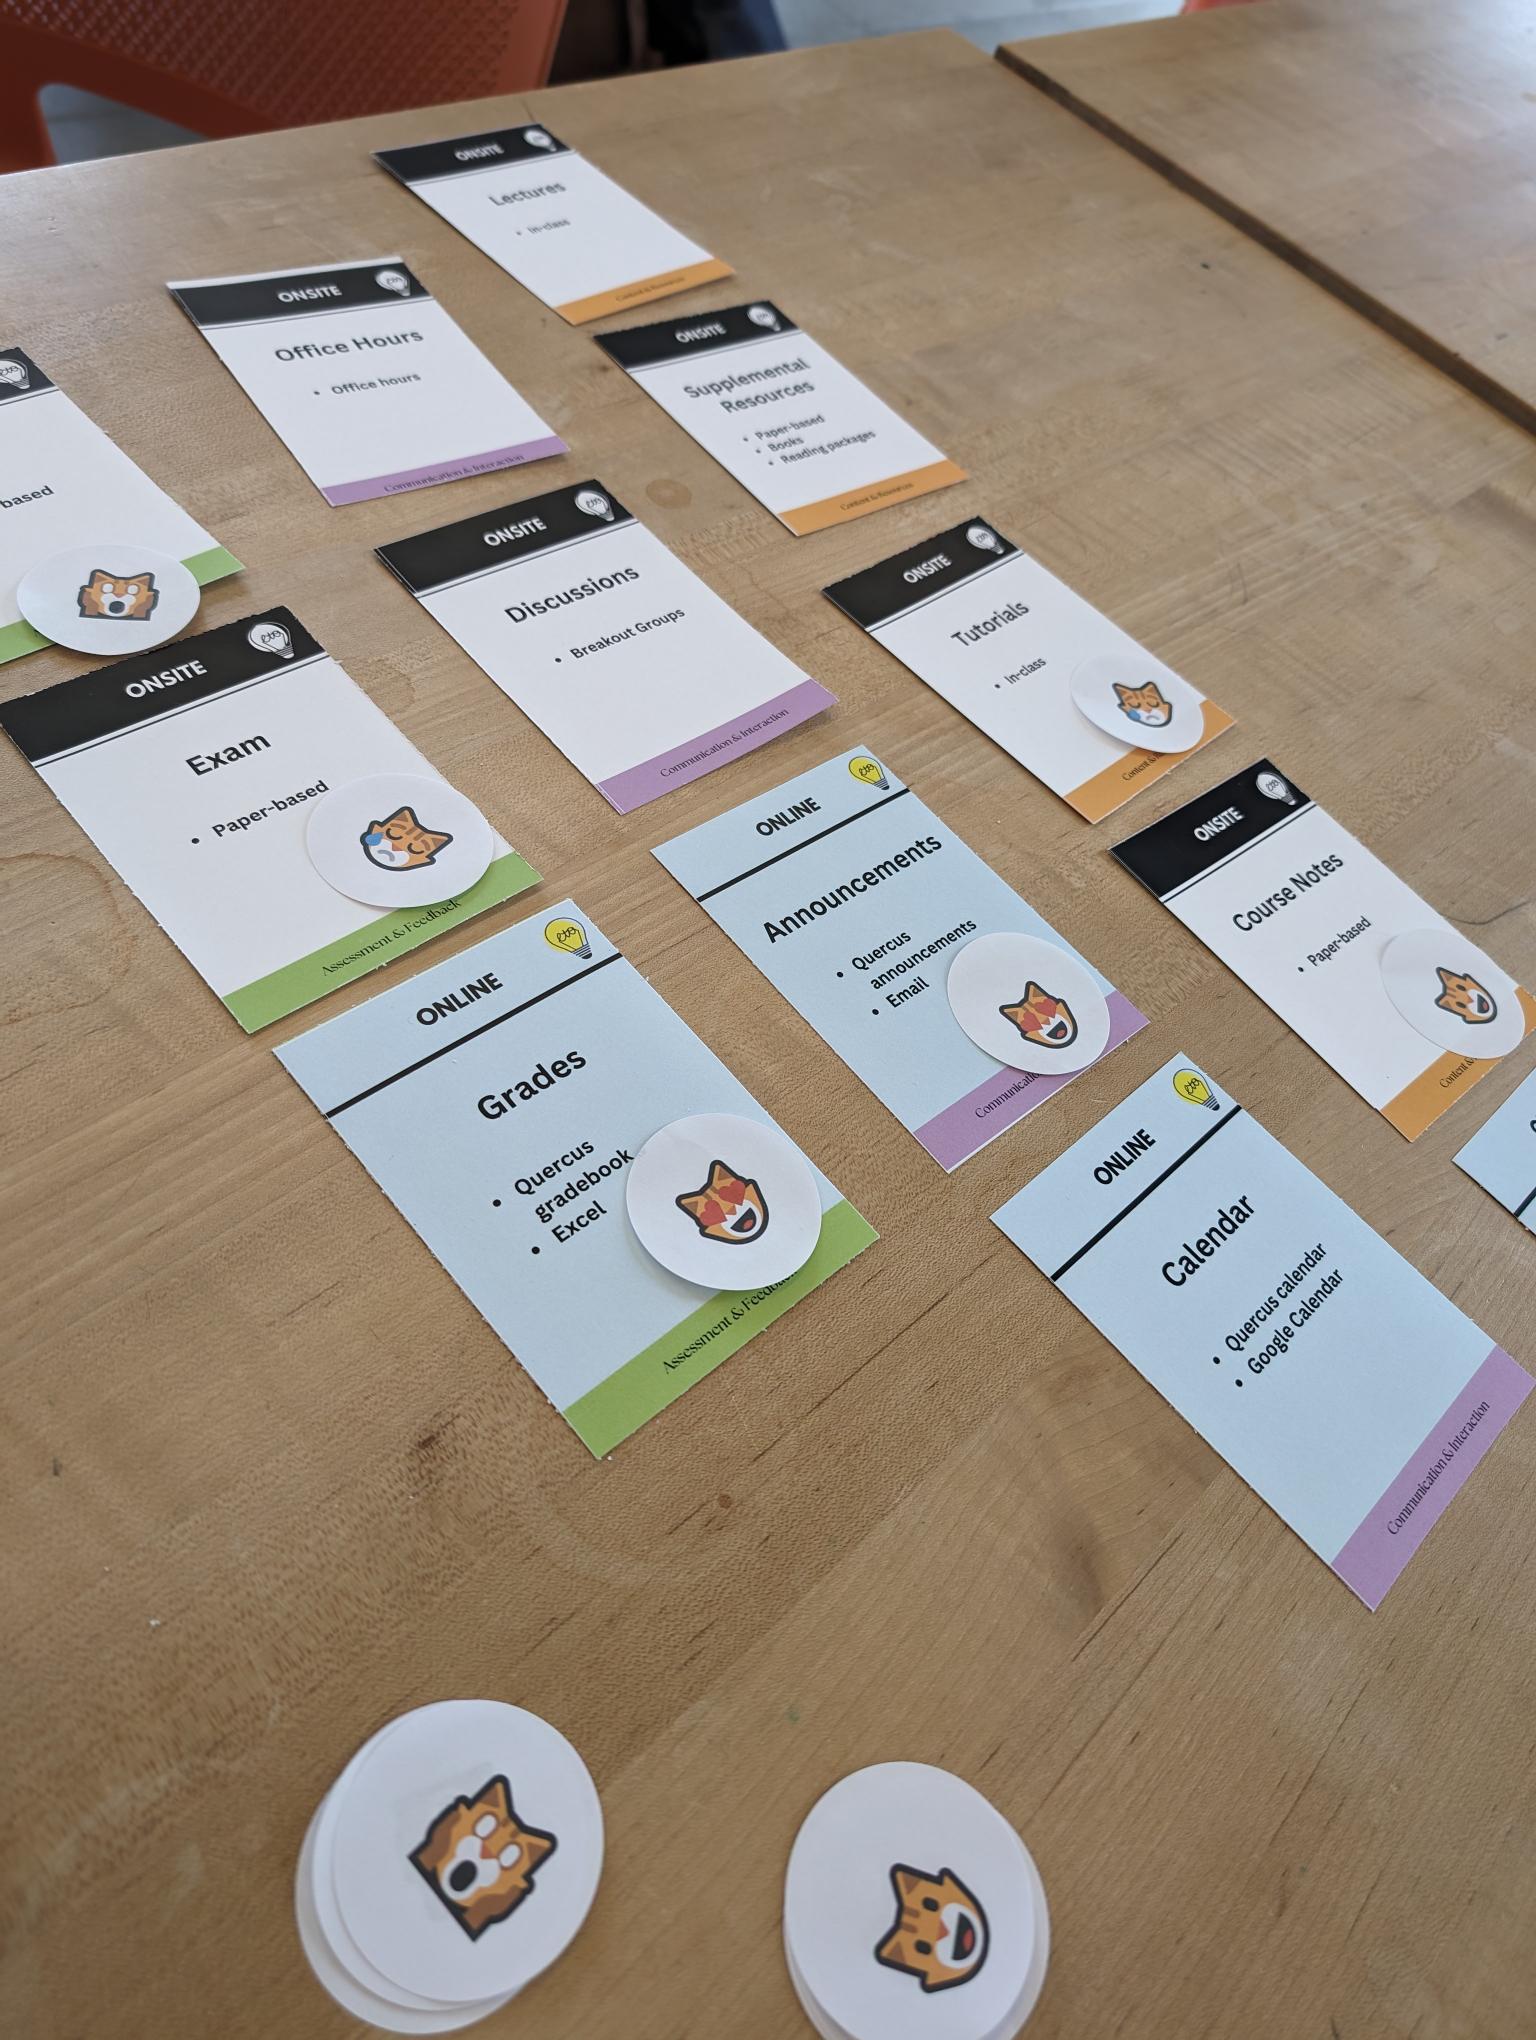
- Grab some emoji buttons. You'll need a few of each type of rating:
A big thank you
We are very grateful to Prof. Deborah Tihanyi, who supported the ETO in testing this activity as part of the Teaching Engineering in Higher Education (TEP1203)'s course (part of the FASE Prospective Professors in Training Program). On June 04, 2024, we facilitated a 90-minute session with her students (as seen in the photos throughout this blog). We appreciate their willingness to participate and to share feedback.
