Make your own Meet the Instructor Video
Use this video template (there's one with an on camera presences and one without) to self-record a video that introduces you to your class! In this blog post, we're focusing on the "Meet the Instructor" video by sharing a few digital assets (PowerPoint slidedecks) that you can download, edit, and customize according to your preferences.
For both online and in person classes, we recommend two videos to kickstart your course:
- A "Meet the Instructor" video (re-usable from term to term, unless your interests change!)
- A "Course Introduction" video (a walkthrough of they key points of you syllabus and how your Quercus course is designed, organized, and delivered; typically recorded each term to help orient students to each particular course offering)
In this blog post, we're focusing on the "Meet the Instructor" video (the "Course Introduction" will be covered in a future blog). We're also sharing a digital asset (a PowerPoint slide deck) that you can download, edit, and customize according to your preferences. This project is similar to a remote directing project we produced in the lead up to the EdTech Workshop 2021: FASETime.
If you use a template to create a "Meet your Instructor" video, we'd love if you'd let us know (fase.edtech@utoronto.ca). We'd love your feedback on if this resource was useful to you; even better, if you're open to sharing, we'd love to share it to the FASE community.
Check out an example
Jump to:
- Why create a "Meet the Instructor" Video?
- What should I include in a "Meet the Instructor" Video?
- How long should the video be?
- What do the templates look like?
- How do I use the "Meet the Instructor" Template?
- What hardware and software do I need to make this video?
- This sounds pretty complicated. Can I get some help with this video?
Why create a "Meet the Instructor" Video?
The main purpose of this video is to welcome your students by sharing a little about yourself. Humanizing yourself for your students can help improve engagement (students are more comfortable asking questions and even more likely to show up for office hours).
What should I include in a "Meet the Instructor" Video?
The video template guides you to include the following:
- A greeting, with your name, how you'd like to be addressed in class and quick details (like your title and area of expertise)
- Any relevant educational or professional details. Keep this short and curated!
- Why you love your discipline. You might include what courses you teach; consider if you can re-use this video in a few courses.
- What excites you about teaching and working with students. What's your teaching philosophy?
- Responses to a few selected questions. We've provided some starter questions on the video template
There's some room here for your personality. You also know your students! What would be interesting or helpful for them to know? Some instructors choose to share personal interestes (crazy trips, pet iguanas, making the Guiness Book of World Records), reasearch goals and interests, moments they are proud of, or even challenges in their own learning that they've overcome.
How long should the video be?
What you include in the video is up to you, but try to keep it short - our recommendation is under three minutes. Longer is fine, but consider the purpose of the video and why students are watching it.
What do the templates look like?
We've published three templates in the "Meet your Instructor" SharePoint folder (and will add more as we develop them). You can preview:
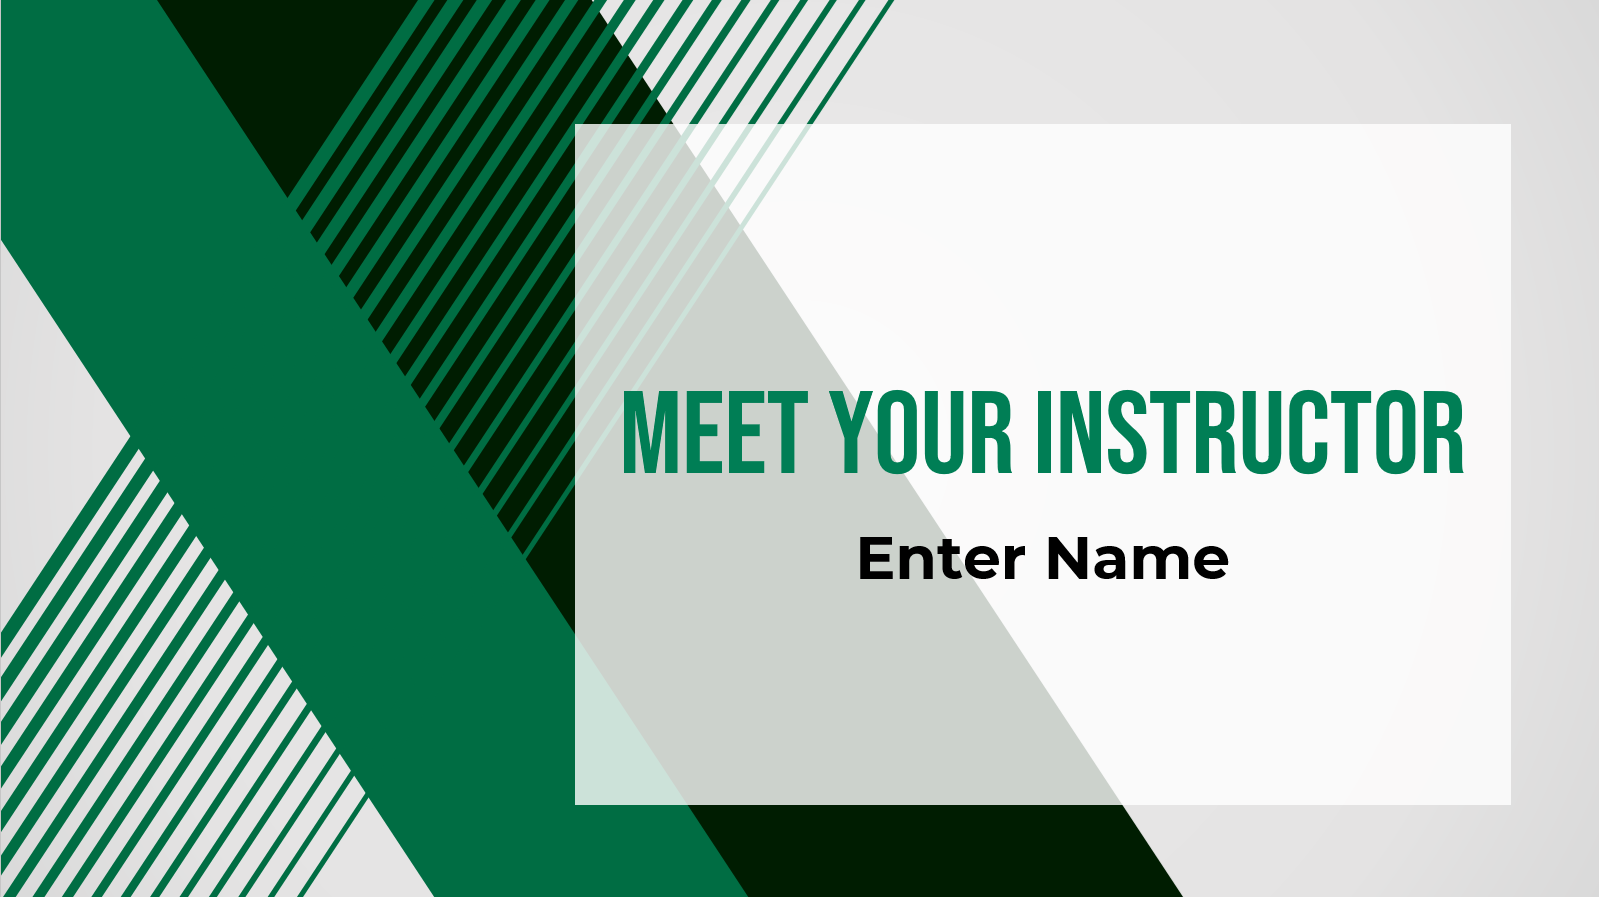
Template 01: Green and Black Abstract Design
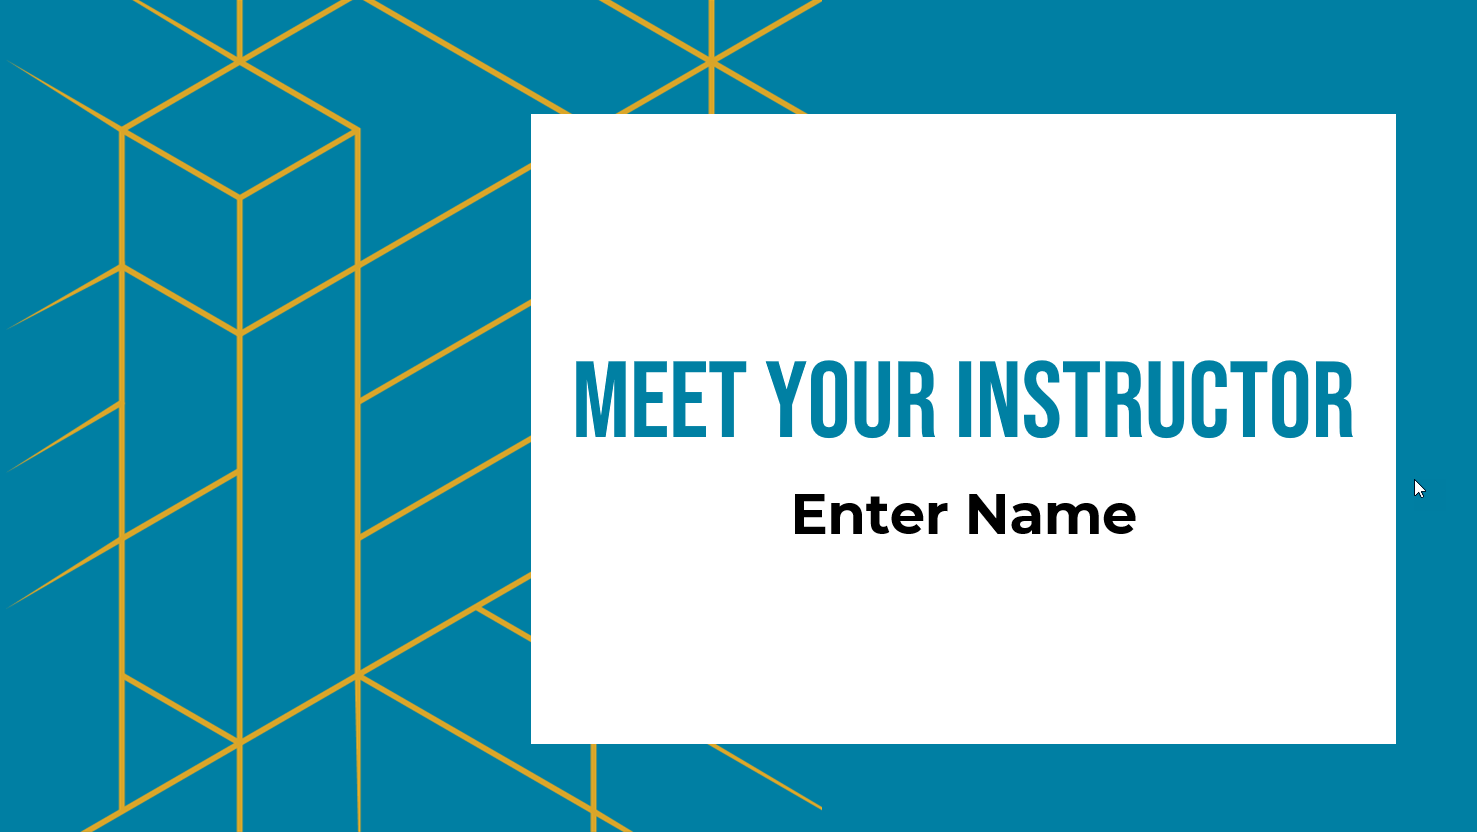
Template 02: Teal and Gold Geometic Design
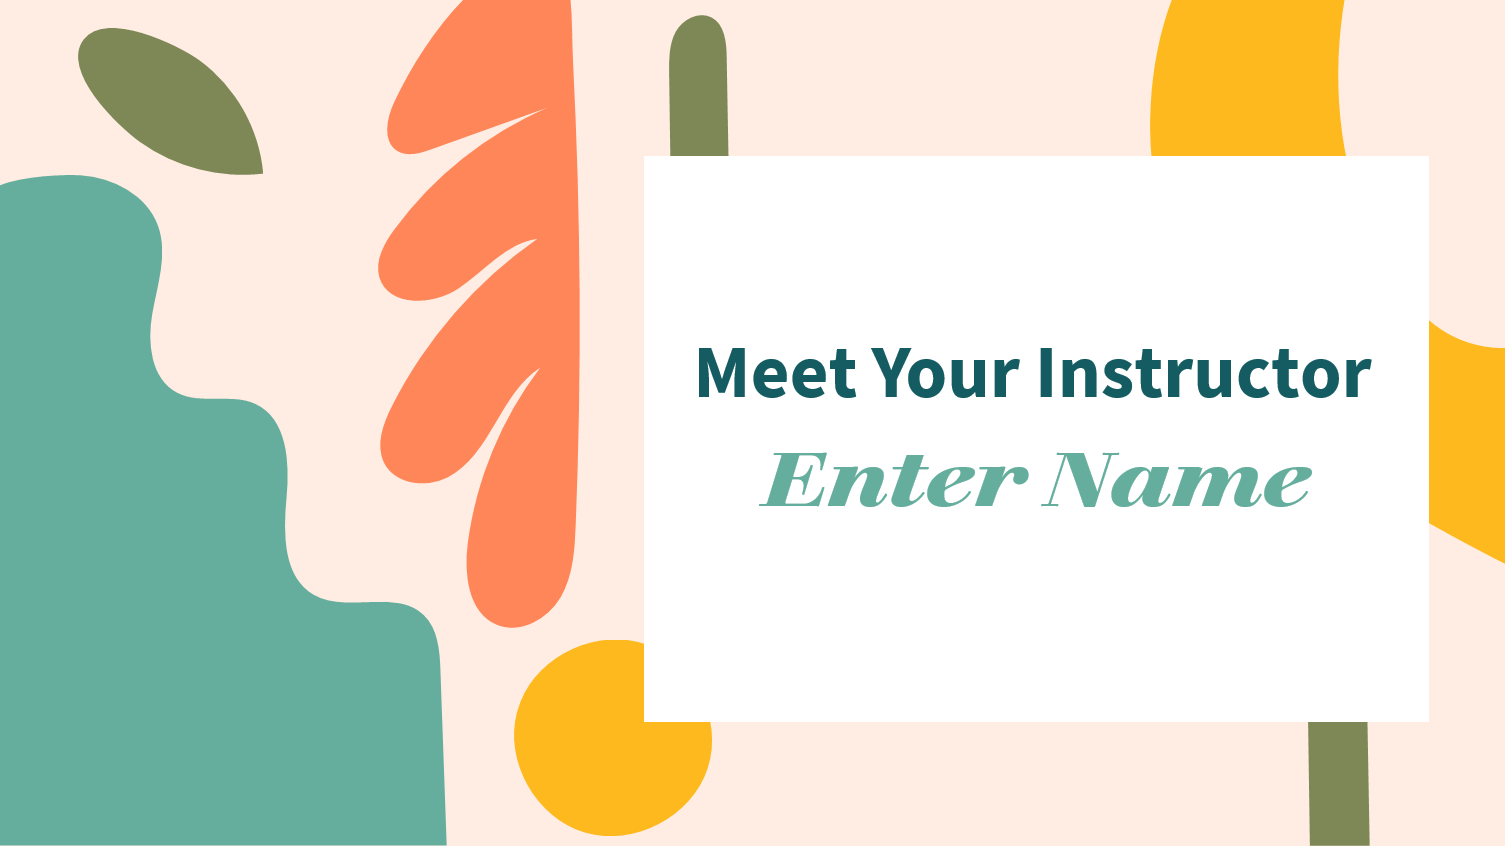
Template 03: Whimsical muted colours design
How do I use the "Meet the Instructor" Template?
-
Download the PowerPoint Template File
- Would you like to appear on camera in the video? Download the "On Camera" template (this uses the PowerPoint Cameo feature)
- Would you like to use voice over only in the video? Download the "No Camera" template
- Review how to use the slidedeck. We've also included production tips; these appear both on "extra" slides and in the speaker notes. Any notes slides are set as "hidden" so they will not appear when you are presenting this slidedeck.
- Select which template elements you will use. For simplicity, you can delete the rest; if you change your mind, you can download the template again.
- Plan out what you're going to say. We recommend that before you record, you jot down as much detail about what you plan to say. A script is ideal but an outline might also do the trick here, depending on your style.
- Select your recording software (you can download TechSmith SnagIt or select an alternate recording application)
- Test your recording set up. We recommend doing a 10 - 30 s test before you record a longer section to ensure that your sound, video, and other recording elements are working as you expect)
- Record your video. If possible, we recommend a two monitor set up. This will allow you to present using Presenter Mode and you can position your speaker notes close to your webcam, while recording your full screen presentation.
- Edit your Video. For light trimming and cutting, you can continue to use SnagIt. For more in depth editing, you might want to consider a more robust editing tool.
- Share the video to your course (using a video hosting service). We recommend uploading to MyMedia (see how to add captions to your MyMedia upload).
What hardware and software do I need to make this video?
- Computer
- Second monitor*
- Webcam
- Microphone* (or use the webcam microphone)
- Ring light (or light source that you can control)*
- Video recording software (e.g., download Techsmith SnagIt)
- A quiet space
*nice to have
This sounds pretty complicated. Can I get some help with this video?
Absolutely yes! The ETO is here to help! We can walk you through using the "Meet your Instructor" template, setting up your physical space (key if you plan to be on camera), sharing some key tips for getting the most out of your recording, making any editing you want to do easier, guiding your video recording via remote directing, and lending a hand with the editing (via our remote editing process, which is available for all video content you've created). If you're interested in this support, contact us at fase.edtech@utoronto.ca or book a content production consultation.
If you use a template to create a "Meet your Instructor" video, we'd love if you'd let us know (fase.edtech@utoronto.ca). We'd love your feedback on if this resource was useful to you; even better, if you're open to sharing, we'd love to share it to the FASE community.


