Question of the Week
Each week we'll use this space to share a question (or more!) that we've received about Quercus and other Academic Toolbox tools.
This week's question is: "How can I share Opencast (OCCS) recordings with individual students?"
This Week's Faculty Question
Q: I enabled the Opencast (OCCS) instructor app for my course this term, but I've kept the recordings hidden from students. I now want to release the recordings to particular students who can't attend the lecture at the scheduled time. Is there a way for me to enable the OCCS Student App only for selected students? If that's not possible, can you recommend another way that I can make the lectures available, but only to specific students?
A: Unfortunately, the OCCS Student App can't be enabled for specific students only. If you enable it in your Quercus course, all students in the course will have access to any OCCS recordings you publish. However, there is a way to distribute videos only to particular students - you can share the recordings in a OneDrive folder by using the steps below.
How to Share OCCS Recordings in a OneDrive Folder
To share your Opencast recordings using OneDrive, you need to follow 3 main steps:
- Download the recorded videos from the OCCS Instructor app. For download instructions, refer to page 15 on the OCCS: Opencast Content Capture System Operation and Usage Instructions(PDF) guide.
- Upload the recordings to a folder on your OneDrive. For instructions on creating a folder in OneDrive, please review Step 1 - Step 3 in our guide: How to create a shared, editable folder
- Share the entire folder or an individual recording file with specific students (you would need to have their @mail.utoronto.ca email addresses).
To share the folder or file with specific users, you then need to follow the steps shown in the screenshots below:

- Open the folder or file Share permission settings.
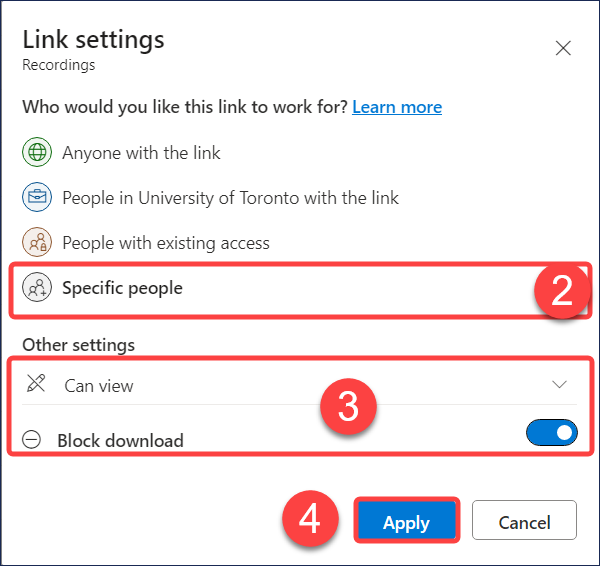
- Select the Specific people option.
-
Under Other Settings, select the following options (if appropriate for your situation):
- Select Can View (rather than Can Edit).
- Toggle on the Block Download button.
- Select Apply to save your options.
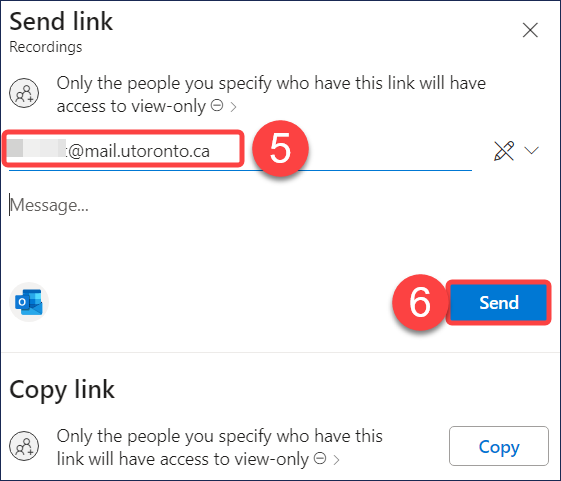
- Enter the emails of the students you want to share the folder/file with (optionally, also include a message).
- Select Send to send the link via email to the students (you also have the option to Copy the link if you prefer to share it with your students in another way).
For more information on sharing files and folders in OneDrive, have a look at the Microsoft guide: Share OneDrive files and folders.
For additional assistance, please contact the EdTech Office or book a consultation.
Have a Quercus (or EdTech) question? Please contact FASE's EdTech Office.